How to Install NetBeans in Ubuntu 18.04
This article explains How to Install NetBeans in Ubuntu 18.04 Bionic Beaver. NetBeans on Ubuntu provide an Integrated Development Environment to create desktop and mobile applications using Java, PHP and other programming languages.
NetBeans 8.2 is the current version of the Java Development Environment. The steps to install NetBeans IDE 8.2 on Ubuntu operating system are as follows:
- Install Java 8 Runtime Environment.
- Download NetBeans for Ubuntu 18.04.
- Execute the NetBeans installer.
NetBeans 8.2 needs Java runtime 8 to run, So first of all install the Java 8 if you haven’t installed already.
sudo apt-get update
sudo apt-get install openjdk-8-jdk-headless --install-suggests
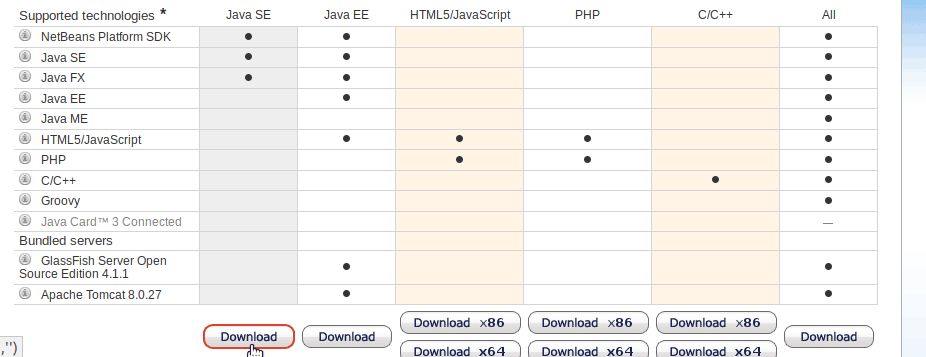
Then go to the netbeans.org/downloads/ and download the Netbeans IDE.

Note that several different packages available for different programming languages and there is a version that supports all languages as well. If you want NetBeans IDE for Java development, then download the Java SE package.
Once the download is complete, open the Ubuntu Terminal, cd into the download folder and make the netbeans.sh file executable:
chmod +x netbeans-8.2-javase-linux.shThen, execute the NetBeans installer:
sudo ./netbeans-8.2-javase-linux.shOnce you execute the sh file, you will get the NetBeans IDE Installer Wizard. First, accept the license agreement, Then select java-8-openjdk as the JDK for the NetBeans IDE.

Then, go to the next window and click on the Install button to complete the process.
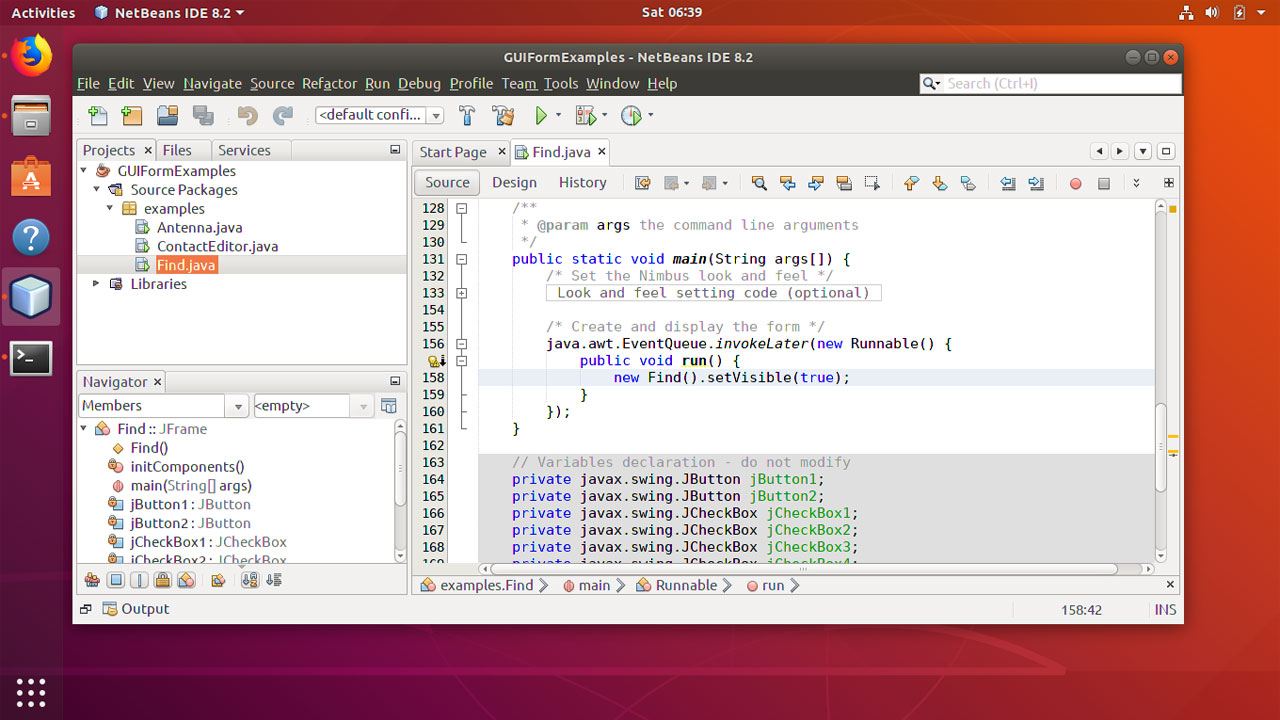
Once the installation is complete, you can go to Ubuntu Applications menu and open the NetBeans IDE 8.2.

Create a new Java Project
To create a new Java Project, Go to File menu and click on “Net Project…”.
Under the Java category, select Java Application and click Next.

Give a name to the new project, Select the Project location and Project folder and click Finish.
The NetBeans IDE has many features, not only available for JAVA, it also supports other languages, including: PHP, C/C++, HTML5 and JavaScript.