How to Install Komodo Edit on Ubuntu 18.04 Desktop
This tutorial explains how to install Komodo Edit on Ubuntu 18.04. Komodo Edit is a programming text editor and available free for Ubuntu and other Linux operating systems.
Perform the following steps to Install Komodo Edit on Ubuntu 18.04:
Download Komodo Edit for Ubuntu – Go to the Komodo edit download page and download the Linux Package.

Extract the tar archive file – After the download is finished, extract the tar file.
tar -zxvf Komodo-Edit-11.1.0-18196-linux-x86_64.tar.gzRun the installer – Then, cd into the extracted folder and execute the install.sh script to install Komodo edit:
cd Komodo-Edit-11.1.0-18196-linux-x86_64/
sudo ./install.sh -I /opt/KomodoEdit
After the installation process is complete, add “komodo” to your PATH variable.
First open the .bashrc file in a text editor:
gedit ~/.bashrcAdd following to the bashrc file:
export PATH="/opt/KomodoEdit/bin:$PATH"Save and reload the bashrc:
source ~/.bashrcCreate desktop launcher for Komodo Edit
To add desktop shortcut, create a text file called “komodo-edit.desktop” on your desktop and add following configuration:
[Desktop Entry]
Encoding=UTF-8
Name=Komodo Edit 11
GenericName=Editor
Comment=Free multi-platform editor that makes it easy to write quality code.
Exec="/opt/KomodoEdit/lib/mozilla/komodo" %F
Icon=/opt/KomodoEdit/share/icons/komodo48.png
Terminal=false
Type=Application
MimeType=text/plain;
Categories=ActiveState;Application;Development;Editor;Utility;TextEditor;
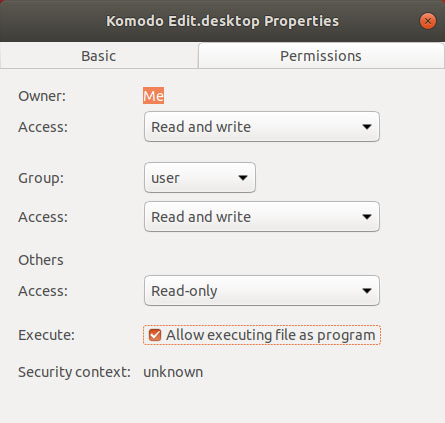
Next, right click on the desktop file, Go to Properties > Permissions and check: “Allow executing file as program”.

After that, double click to open the desktop file and click “Trust and Launch”.

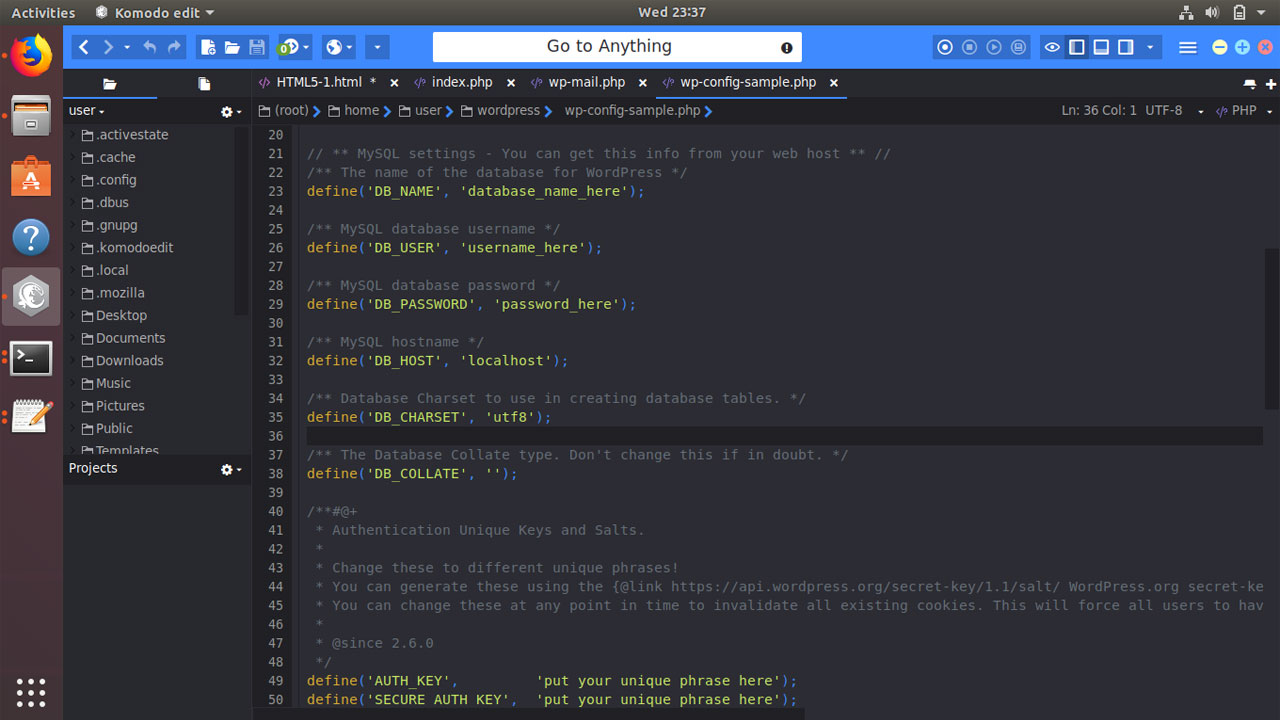
You can use Komodo Edit on Ubuntu to develop applications using different programming languages (e.g. PHP, HTML5, JavaScript, Perl, Python, Go and etc.).