How to Install Xfce on Ubuntu 18.04
There are several desktop environments available for Ubuntu 18.04, including GNOME (Which is the default), KDE and Cinnamon. But if you are looking for a lightweight, faster desktop with the best performance, then Xfce4 should be your choice.
Xfce is a lightweight desktop environment and requires less memory and processing power than GNOME, KDE or Unity desktop environments. It is very stable and work well on Ubuntu 18.04 Bionic Beaver.
To Install Xfce on Ubuntu 18.04 follow the given steps:
Install the xfce4 package using apt-get install command:
sudo apt-get update
sudo apt-get install xfce4
Wait for the installation process to finish, Once the process is complete, restart your Ubuntu 18.04 desktop.
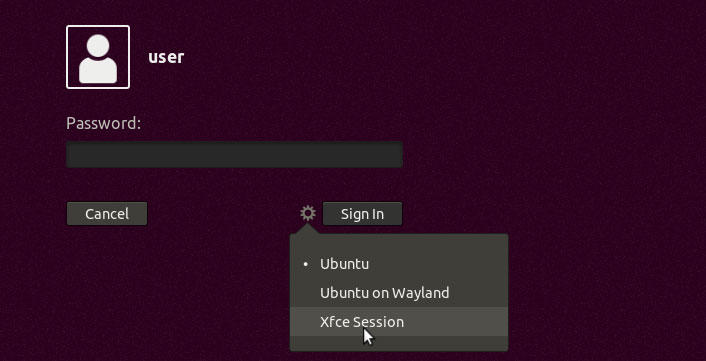
When you come back to the login screen, click on the setting icon before the sign in button and select: “Xfce Session” and login to the desktop.

The first time you login to the Ubuntu Xfce desktop, you will get Welcome to the first start of the panel and a prompt, which will ask you to choose which setup you want for the first startup.

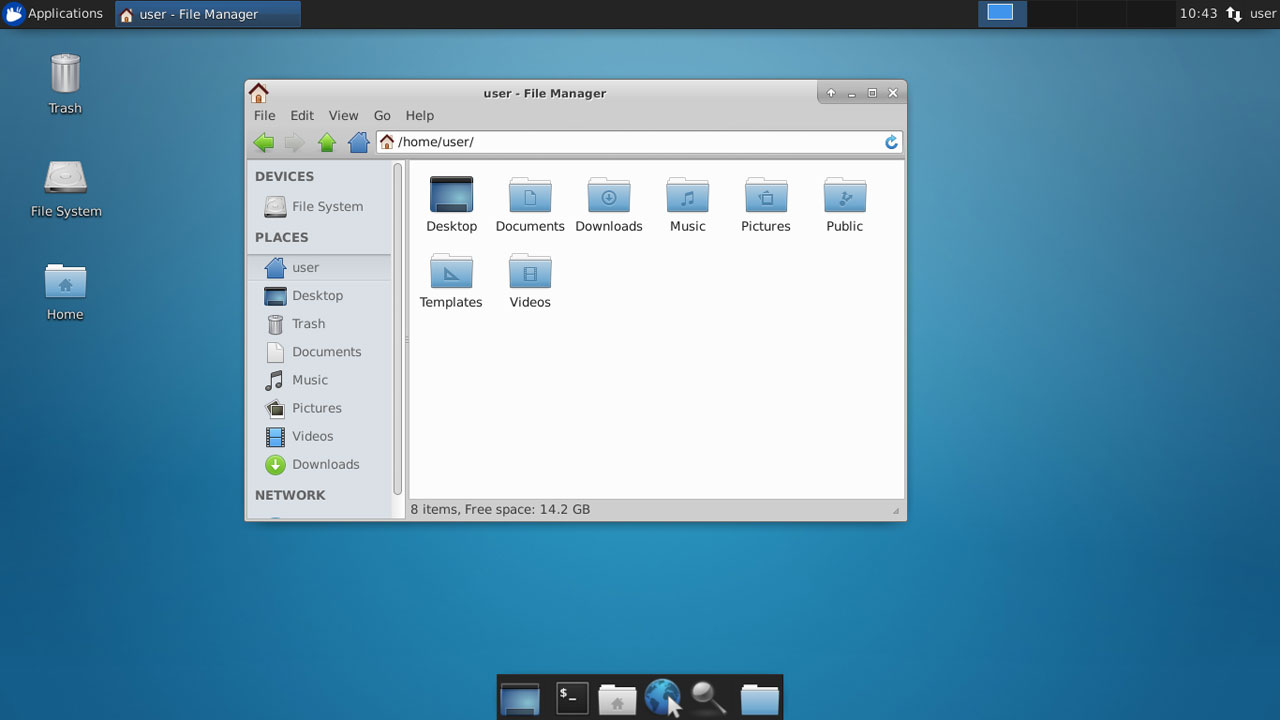
Click on the Use default config button and that is all you have to do. From now on Xfce will be the default desktop environment in your Ubuntu 18.04 desktop.

How to Move Xfce panel to the bottom
By default Ubuntu Xfce desktop have start button at the top of the desktop. If you want to move the start button and the panel to the bottom do the following steps:
- Right click on the panel and Go to Panel > Panel Preferences.
- Uncheck the “Lock Panel” checkbox.
- Hold the panel from the right of left corner and drag it all the way to the bottom.
- Go to Panel Preferences and check the “Lock Panel” checkbox.
Xfce is a fast, and lightweight desktop environment for Ubuntu 18.04. The system resources needed to run the Ubuntu Xfce desktop are less than GNOME, KDE or cinnamon.